Saturday, February 28, 2015

Postage Stamp update

20150227-P1380998
I'm not really a fan of basting. I never seem to have the space. I get bored after a while and want to give up but it has to be done so it can be cleared away. I once left a quilt on the floor for a few weeks and it got dirty and dusty. So it has to be done in a day.

20150227-P1380986
Not sewing it by hand has been a breakthrough though. Pins are so much easier!

20150227-P1380995
And wonderclips on the binding are perfect. I have been waiting a long time to have enough. I just made it.

20150228-P1390050
So this is how my evenings are looking for a while. It'll be good to get this finally done. It's really lovely. I love the backing.

Monday, February 23, 2015

Cotton + Steel Cowl

20150223-P1380906

I have resisted buying big bits of fabric, expensive bits of fabric. All new fabric for one project. Expensive fabric... Yeah, so I caved in. I have been watching all the Cotton + Steel fabric coming out and finally I was pushed over the edge of temptation by the Mochi lawn. I love them. I decided to make myself something to wear for Birmingham this year so I would feel chic and creative.

20150223-P1380837

Here we have Mochi Lawn - Speckled in Navy and Tokyo Train Ride Lawn - Mystery Food in grey,
both from The Village Haberdashery. The pink mini pom poms are from Ebay.

20150223-P1380841

I love the salve edges so I saved these so I can think up a project for them.

20150223-P1380856

As for the pattern. I followed the Figure 8 cowl pattern on The Village Haberdashery blog. Here is my review... The problem with easy patterns is that they don't account for the thickos like me. I think I am better with paid for patterns as they tend to spell everything out for you. In retrospect I should have treated the pom pom application like piping, but I am far too thick. Here is a catalogue of errors...

Mistake number one. Good work using the piping foot. But bad work not setting the needle a few steps inwards so that when you come to do the second line of sewing you can move the position over so that you are sure to sew over it so it's not visible. I found following my line of sewing very tricky.

20150223-P1380872

Mistake number two. I should have used cotton the same colour as the pom pom trim to apply it to the backing fabric then it wouldn't have mattered so much if it was visible. You can see I chose navy to match the backing fabric. It stands out. It's stupid. I am a doofus.

20150223-P1380904-2

Mistake number three. I made my cowl longer than the pattern specified. It said 175cm long. Ack well I am very tall so I tend to make everything bigger so it looks big enough on me. Showing a cowl on a 5ft waif is not the same as showing it on a 5ft 10 beefcake. I wanted to ensure it looks big. Of course it is really too big at two loops and too small at three loops. Silly. It works though, it's just not perfect.

20150223-P1380912

Mistake number four. Look up how to join pom pom trim before embarking on the project. Nowhere does it say how you join it nicely. I fluffed mine totally. Look you can see on the right. One pom pom end is fraying into the night as we speak. I just cut it and hoped for the best. I am basically an idiot.

20150223-P1380893

But I love it!

20150223-P1380875

I think three turns is okay. It will keep my neck warm which is what I wanted, and be good on the bike. I don't want a cowl that just sits on your chest like a breast shelf, I need it to be round my neck.

20150223-P1380898-2

I think I might prefer my cosmic lining to the octopi... Now I just need to brush my hair!

Sunday, February 15, 2015

Valentine's Mug Rug

20150203-P1380356
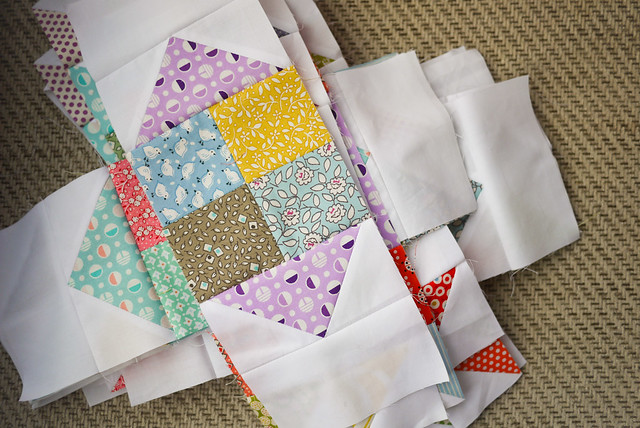
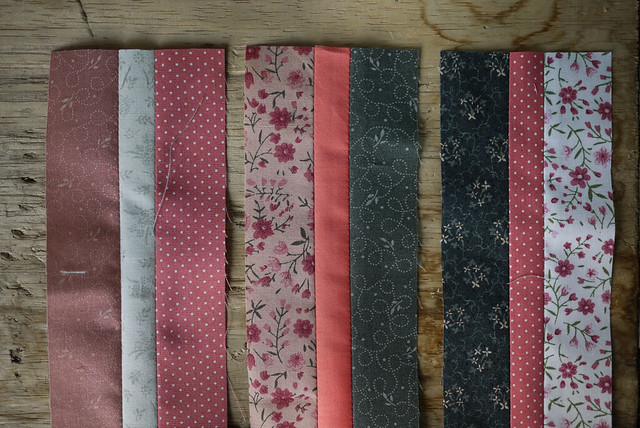
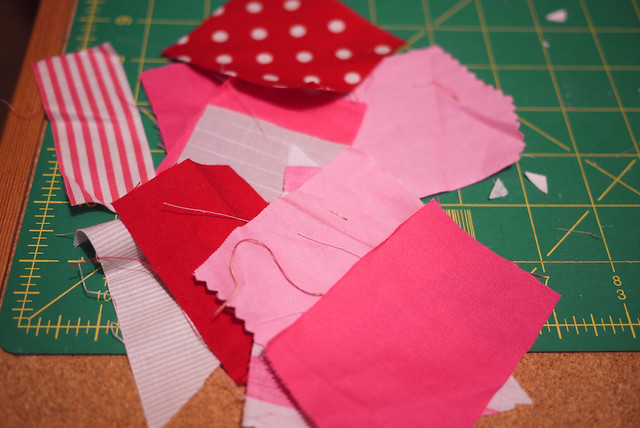
So I decided to make a no expense valentine's day gift. I delved into the scrap bag and pulled out some pinky reds.

20150203-P1380358
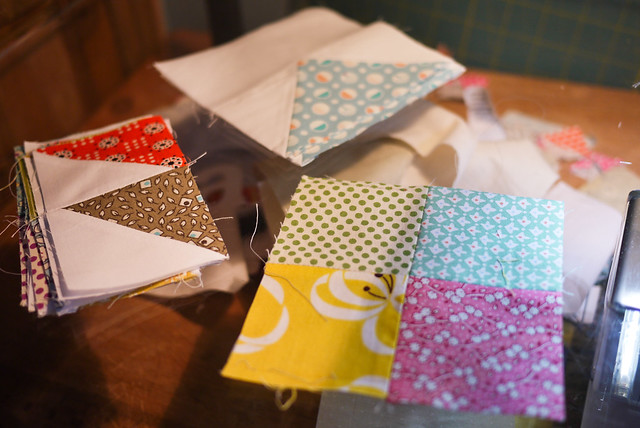
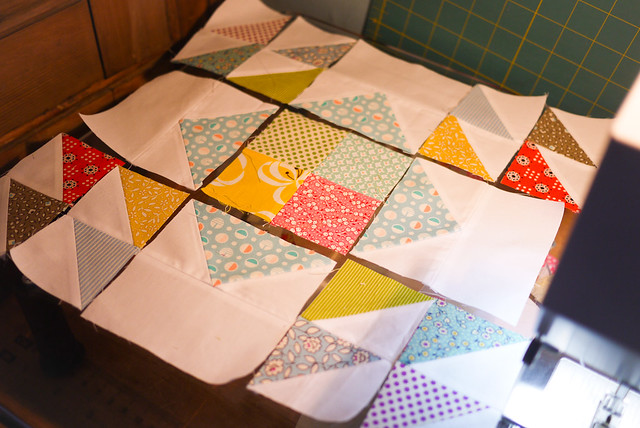
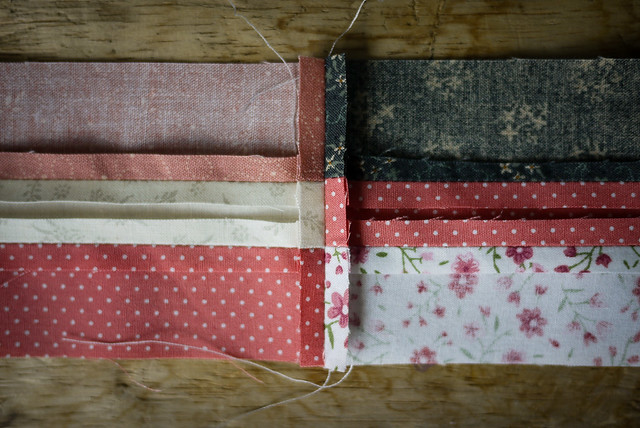
I chained sewed bits together.

20150203-P1380359
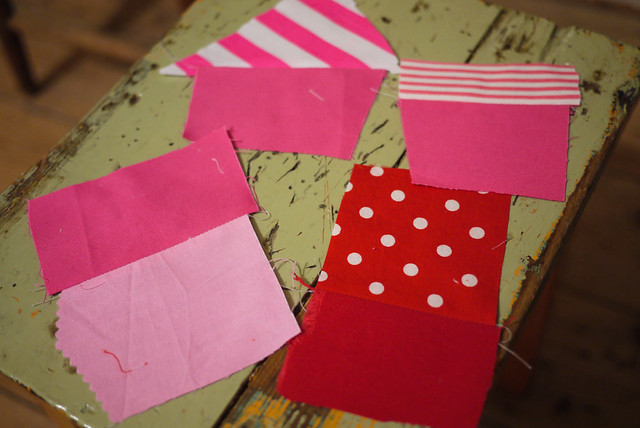
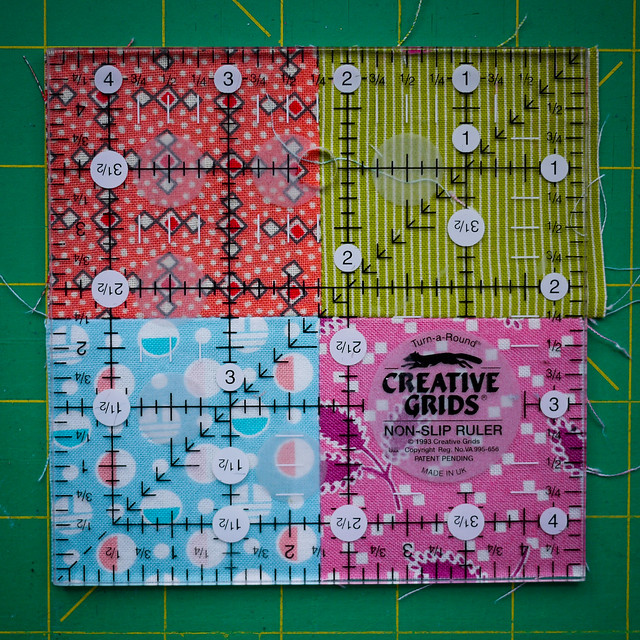
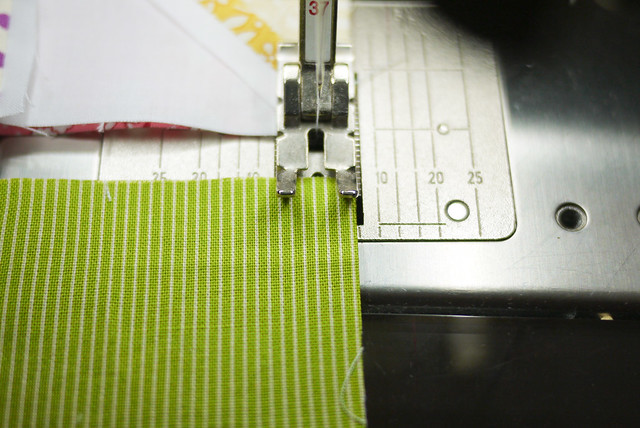
I didn't straighten up anything. I just trimmed one side and added a third piece.

20150206-P1380381
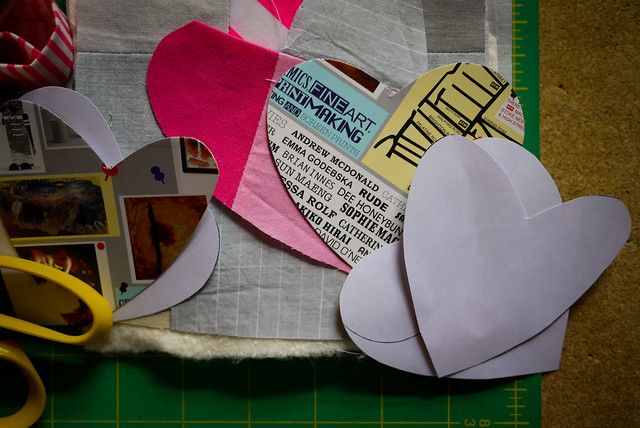
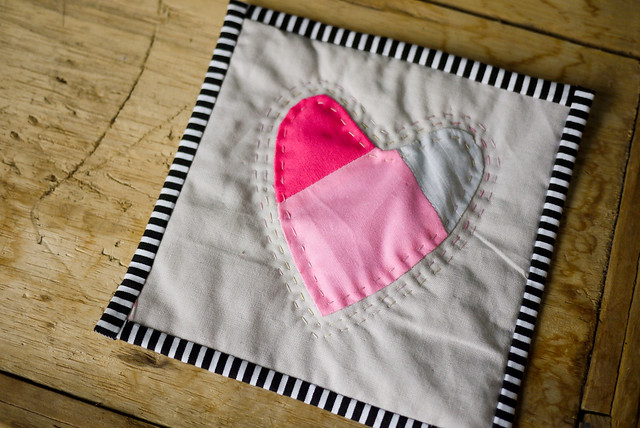
I cut templates out of scraps of paper.

20150205-P1380378
I cut out heart shapes from a template I drew.

20150207-P1380460
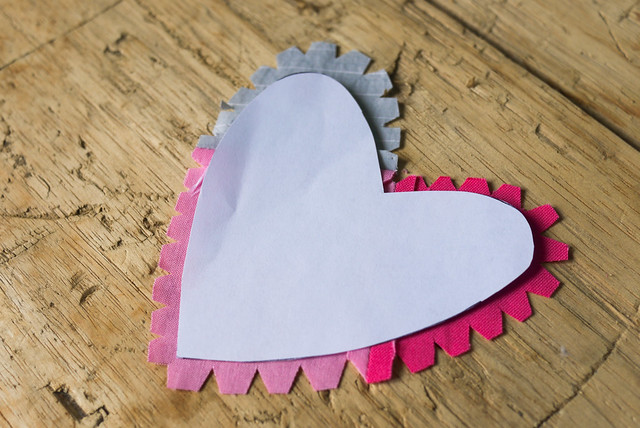
I cut darts in the fabric so it would bend smoothly. Usually I would iron the fabric around the shape but I couldn't be bothered so I just pinned this paper side down to the fabric and pushed the fabric underneath the paper with the needle as I went round. It was surprisingly successful.

20150205-P1380362
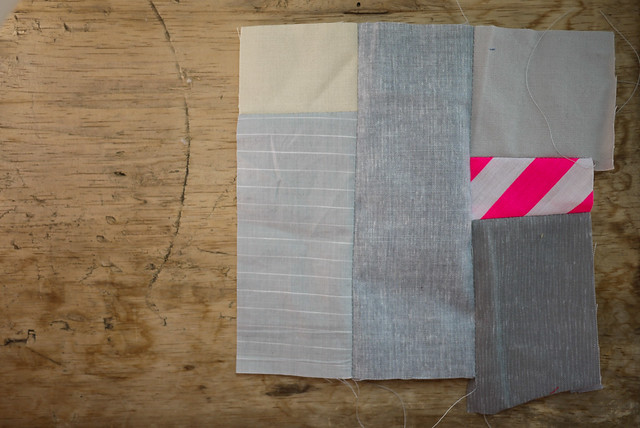
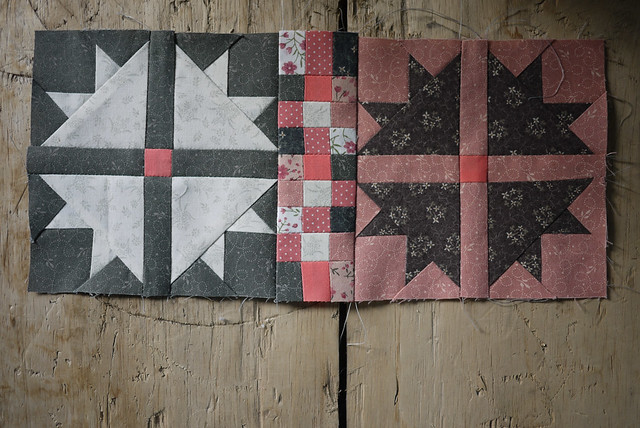
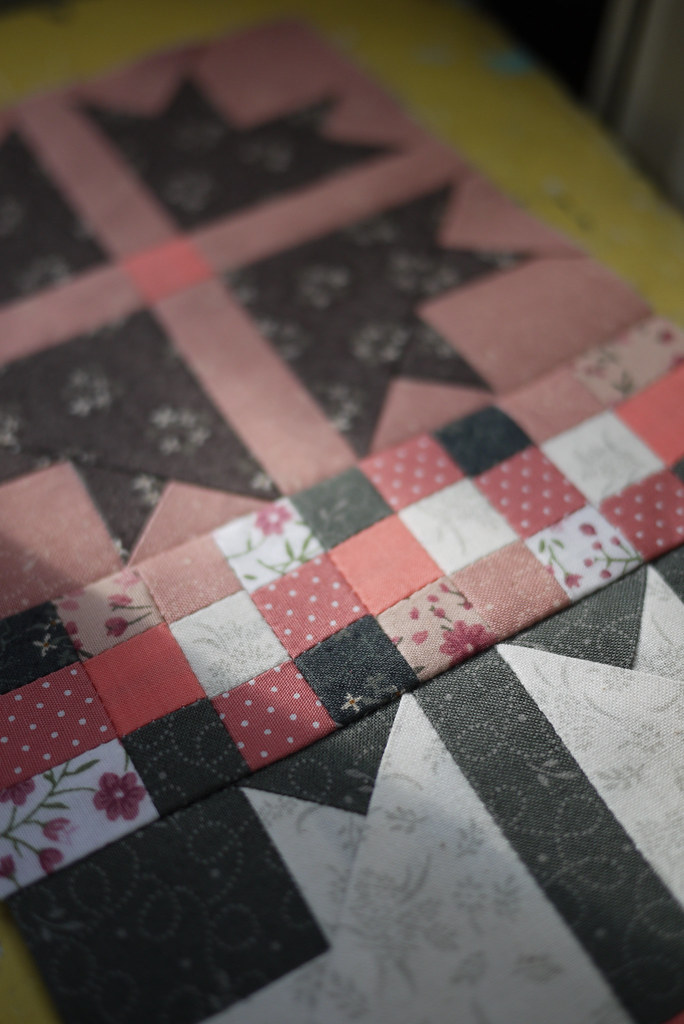
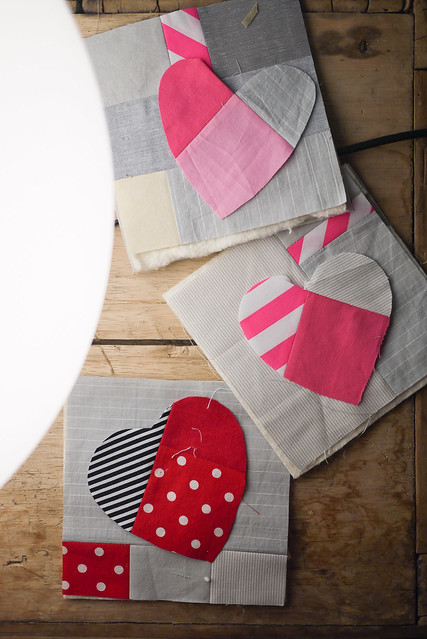
I pieced front and backs out of scraps. I feel really good about using up the scrapbag. I ended up preferring the backs if I am honest.


20150207-P1380450
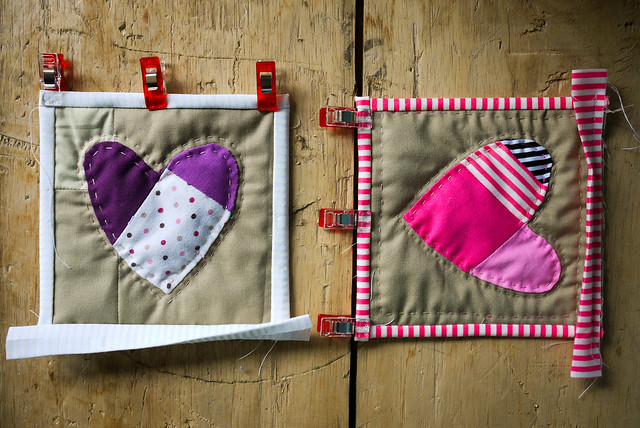
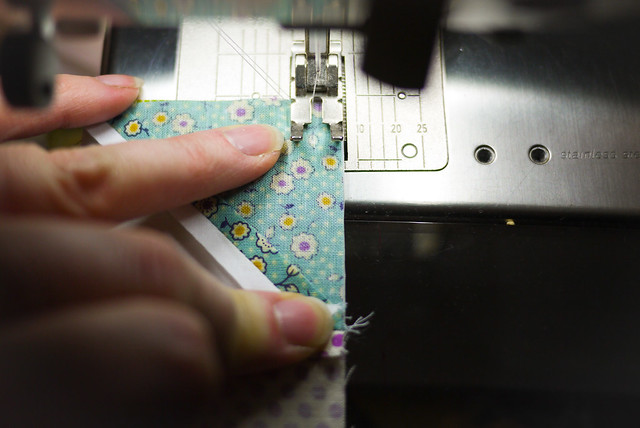
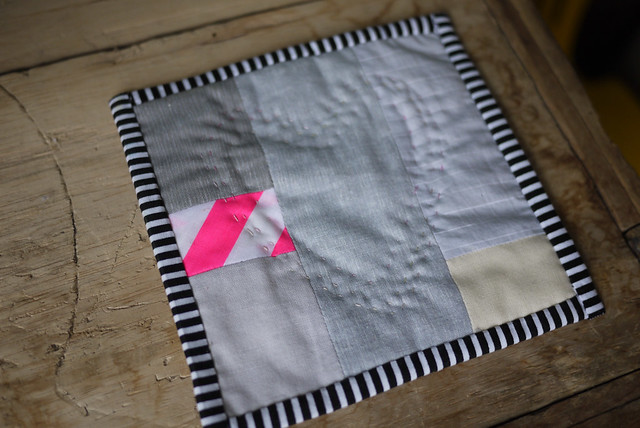
I used scraps to make binding. Because they were short lengths I didn't want to add bulk by sewing them all together so I bound it the easy way. The corners were a bit of a handful though and look a bit messy.

20150211-P1380546
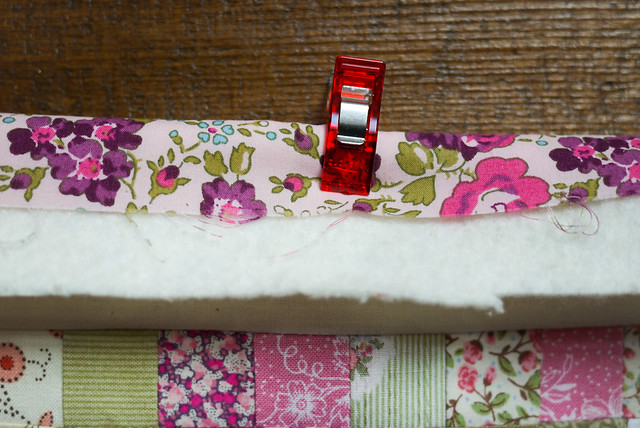
I did really thin border and found it helped using one thickness of fabric rather than folding the fabric in half first.

20150211-P1380549
They're a bit basic. I could have done better. But they are rustic and were easily completed.

20150211-P1380534
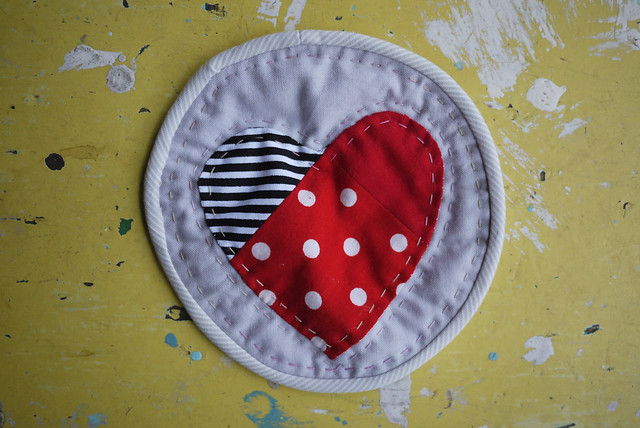
I found some scraps on the bias so decided to try making a round rug mug. It was a mistake really. It was a bit hard to get right. I made a bit of a mess of it and now the finished thing won't sit flat. Oh dear.

20150211-P1380550 
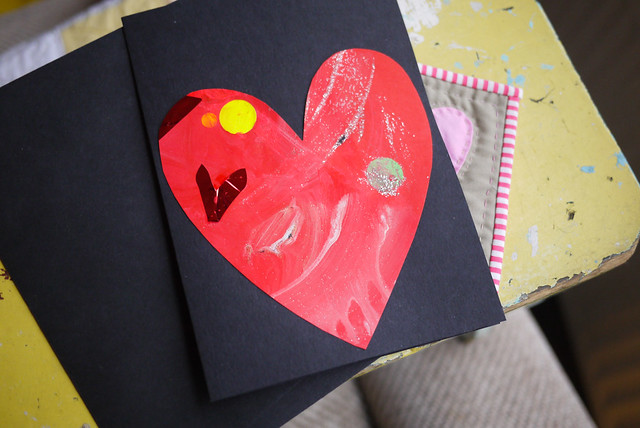
But eventually all three were complete and Penelope and I made the cards.

20150211-P1380553
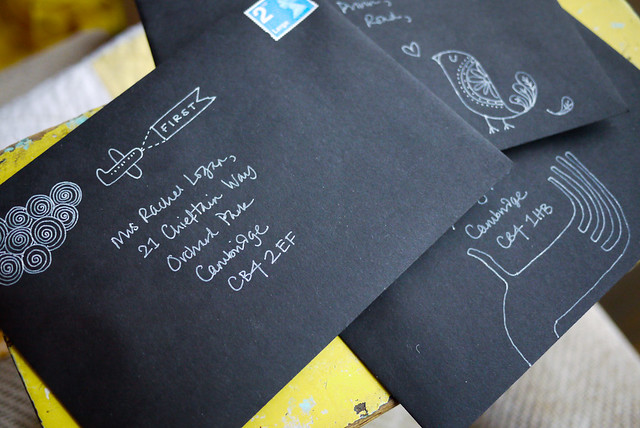
All popped into the post today. I hope they get there on time. I meant to post them first thing but Penelope was not in the best of spirits so I forgot all about it until the evening.

20150212-P1380557
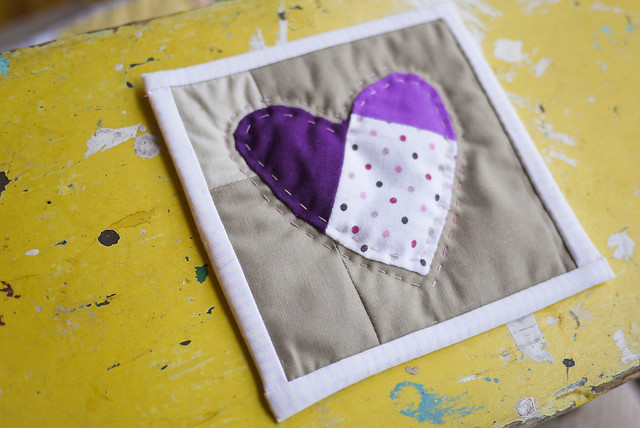
I made a fourth one for my proper valentine, but let's face it, he doesn't want that kind of frippery so I thought I'd just keep it for myself! I have put it next to the bed so that I don't clunk my phone down on the hard wood when I check the time. I am quite pleased with it.

20150212-P1380560 Well, The back is kind of my favourite bit.

Friday, February 13, 2015

Jitterbug part 6

20150213-P1380576
So there was some Jitterbug action today. I managed to sew all my half square triangles together and sew half the strips for the final blocks. It feels like a long time coming, but finally I feel like things are coming together. I didn't want to rush it though as that's when things start not lining up. I wanted pointy points throughout.


20150213-P1380570
Here is where I started from this morning. I thought I would sew all the two strips of HST's together and iron them flat before sewing the blocks into strips but I could't be bothered. I hope I don't end up paying for that later.


20150213-P1380572
I had to lay the whole block out each time in order to ensure I sewed the HST's correctly.


20150213-P1380561
I've found my 2 1/2" ruler and my 4 1/2" ruler invaluable for cutting blocks to size. I have trimmed every block to size up until this point. You can see me here lining up the 2 1/4" mark with the middle. I think this has really helped with my neatness.


20150213-P1380565
The way I acheived having something to trim in either by cutting oversized pieces to begin with, or just sewing inside the 1/4" guide. I guess this is what is called a skinny 1\4". You can see the mark on the right of the fabric that shows the 1/4" line. I find that if I am just inside it I then have enough to trim later. Of course this is time consuming but I just sit with a pile in the evenings and trim them whilst Top Gear is on.

20150213-P1380575
Bizarrely though I have given up on pinning. I find that on small pieces it really doesn't help. I have even looked up uTube videos on being a good pinner. I just find it bumps up my fabric. So if it's small enough I find that I can use my fingers to hold the point where I need the fabric to join up, then I just tug and pull my fabric as I sew slowly until everything meets up. It seems to work. I don't have to do very much. Sometimes I forget and those pieces are a bit shit but they'll do. So now I just need to iron those strips and I will finally be ready to sew the complete blocks together. Well the half that I have done.

Thursday, February 12, 2015

Wonderclip storage

20150130-P1380321

I finally managed to eat a whole jar of treacle. Now my Wonder Clip haul is starting to take shape. Every birthday and Christmas I ask mum to give me a pack of 10. They've finally merited their own tin. They are really great. And they are very toddler friendly. I'm very pleased with my tins.

20150130-P1380317

Friday, February 06, 2015

Foundation sashing

20150206-P1380392
Lesson of the day: going from foundation piecing back to the usual method does not really work. My 9 patches are all over the place!

20150206-P1380384
I thought I was being very exact sewing strips together.

20150206-P1380383
I even opened up my seams. I kind of think it wasn't very helpful though as you don't get that resist between two opposing seams when they are so flat and open... if that makes sense.

20150206-P1380397
I think I still like it though. Wonky is my usual M.O.

Thursday, February 05, 2015

Foundation Hour

20150205-P1380370
I like how quickly these come together. I am starting to worry about using up my precious favourite fabrics. This project just seems to grow. I am thinking about putting some tiny 9 patches inbetween each block.

20150201-P1380353

Sunday, February 01, 2015

More Goose Tracks

20150201-P1380340
Penelope had an epic sleep today. Put herself to bed in the spare room and refuse to wake up. Sooooo lets get back to that foundation piecing. It was very easy as I had cut all the fabric out already. It was just sitting in little piles.


20150201-P1380352
So now I have two. I am not sure where this will end. It cant go on as these are my very favourite fabrics which I have been saving for my Posie Improv Quilt. I've started to think that maybe I could incorporate them into it, but then it might change the nature of the quilt. Then of course I would be putting my own twist on it. They could become a new sewing machine mat though which would be good. Decisions... They are so pretty.