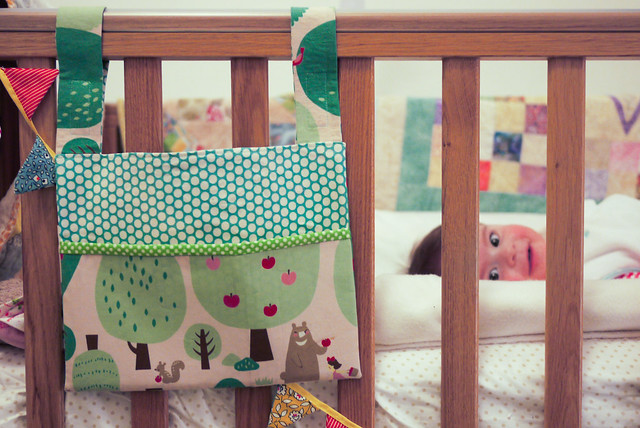
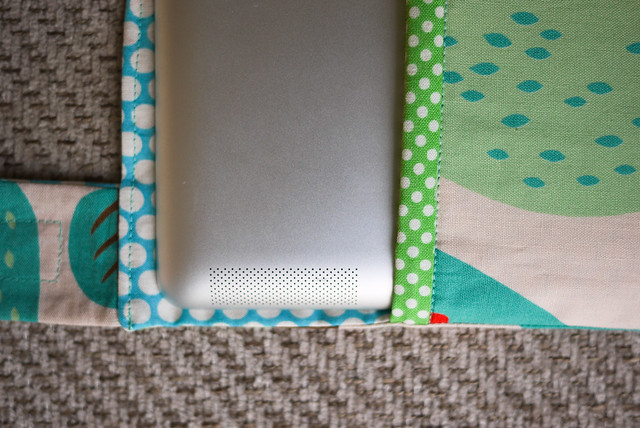
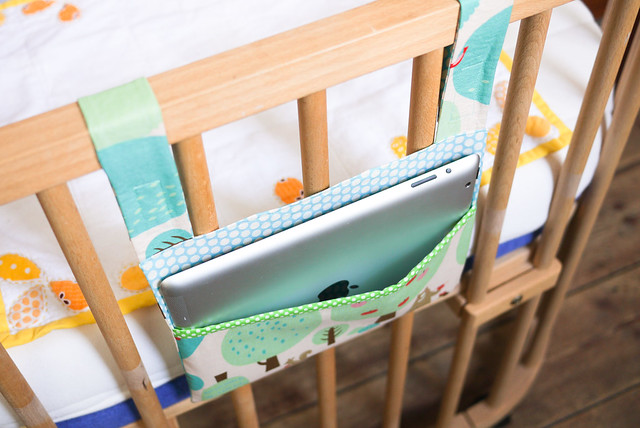
 If you ever have need of an iPad holder to attach to a cot then below is how I made it. It only took a few hours and I'm really slow!
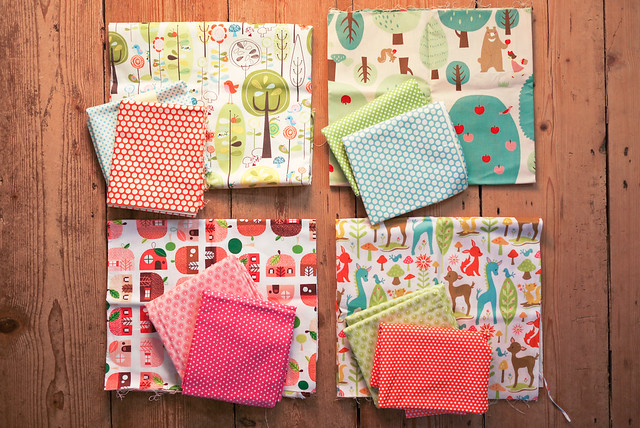 The best bit was going through my stash and choosing fabric. I couldn't decide what combination to use. I spent ages looking at combinations. It was really nice. I chose the top right combination in the end which is
1. Trefle by Kokka Forest Friends, Girl and Bear Picking Apples. This is my outside fabric
2. Kei Honeycomb Dots in - Blue. This is my intside fabric
3. Windham Fabrics McCalls Dots - Green. This is my binding.
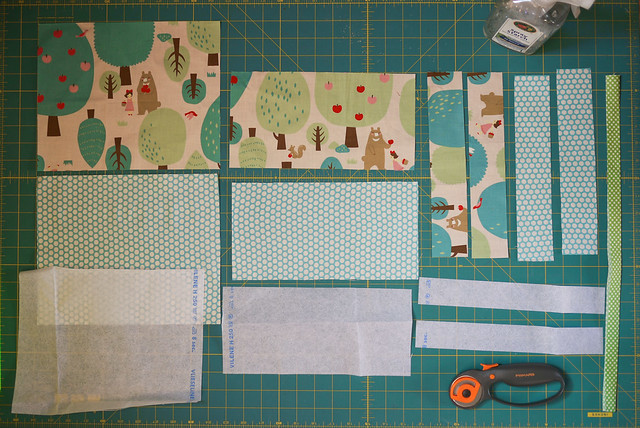 You need:
A. 2 x Main panel 10 1/2" x 8 1/2" from fabrics 1 & 2
B. 2 x Pocket panel 10 1/2" x 5 1/2" from fabrics 1 & 2
C. 4 x 10 1/2" x 2" Straps from fabrics 1 & 2 Plus iron on interfacing for each shape cut 1/2" smaller
D. 1 x 10 1/2" x 1 1/2" from fabric 3
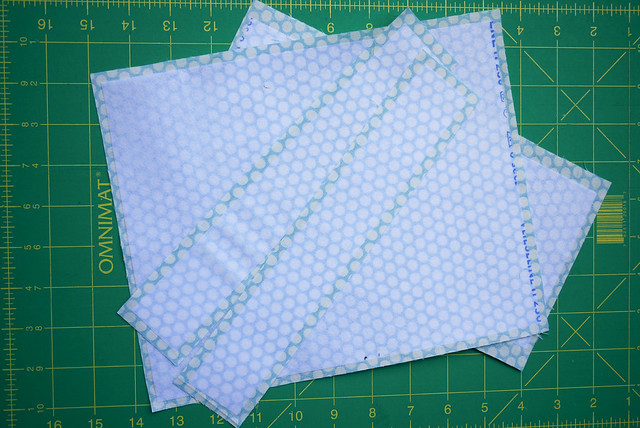 I ironed the interfacing onto the wrong side of all the big blue dotty inside fabric leaving approx 1/4 gap all the way round. It doesn't have to be that accurate. It just makes your seams a bit less bulky. You could do it same size if you wanted.
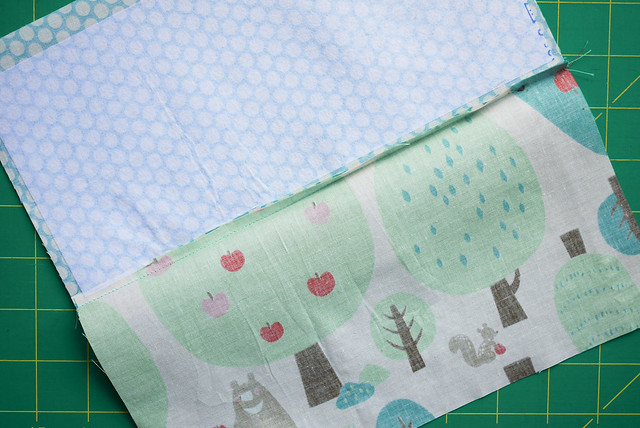 The pocket
Take both parts of your C shape which form the pocket and sew right sides together along one long edge. This is going to be the top of your pocket so make sure your fabric is the way up you want it. Iron seams flat.
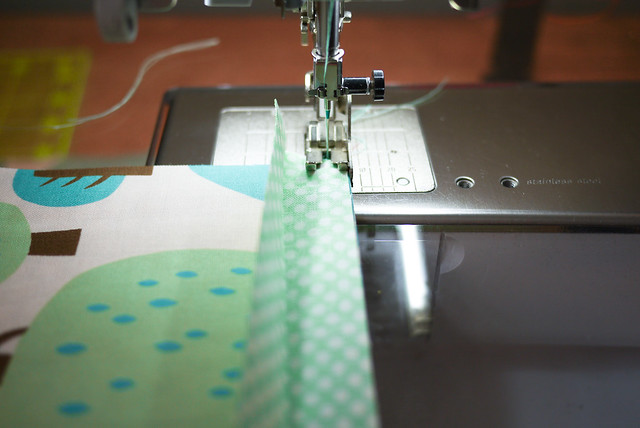
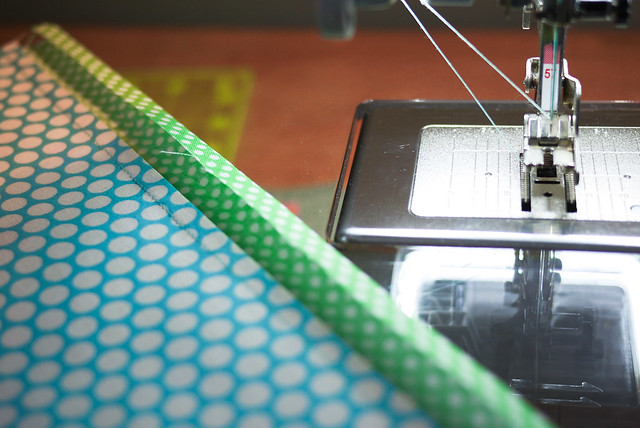 Press flat your binding in half lengthwise and sew one wrong side edge to the pocket seam. Then press the other edge 1/4" in and fold your fabric over the top of the pocket. You should see the middle of the fabric becomes the edge of the binding and the 1/4" folds in so you have a nice neat edge to the fabric.
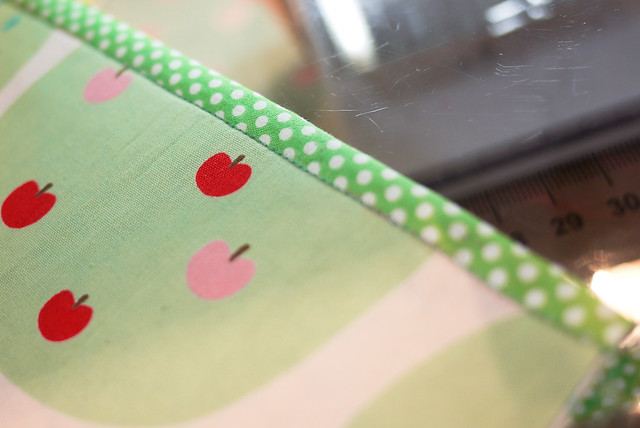
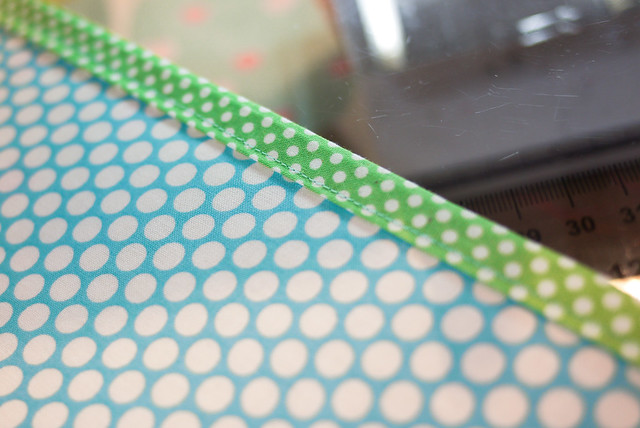 I then turn the whole thing over so the sewn edge is facing upright and sew along the edge of the binding making sure that the edge underneath is larger so the needle is bound to pierce it. it's easy to show in pictures.
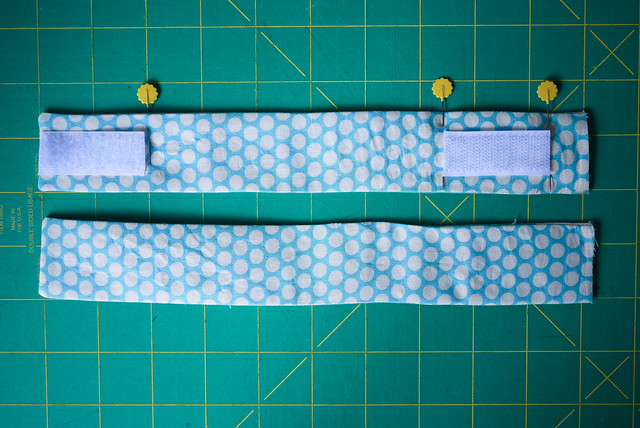 Then sew 2 straps from shape C leaving a short edge gap so I can turn them right side out. Once you have done that I attached velcro (I can't do button holes). I measured the bars of the cot to work out where to place the velcro but it's roughly at the top seam and 1" from the bottom. 1/4" at the bottom you will lose when you sew the straps into the main body.
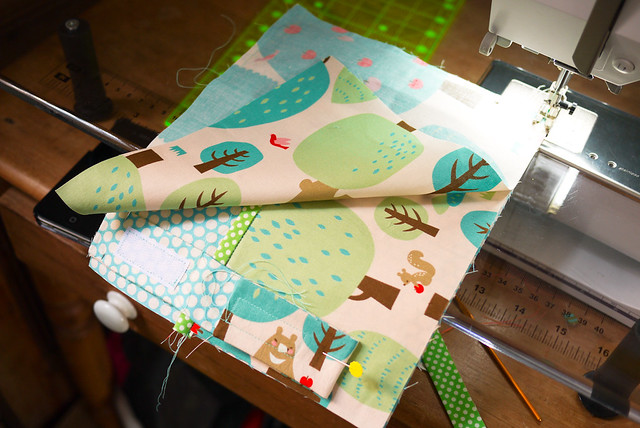 With all the elements done, you then construct your sandwich. 1st you place the backing A fabric right side up, then you place the pocket on top the way you want it to look at the end, so I want the bears facing front and the dots inside the pocket. Then you pin your straps so they meet the seam at the top part of the main (A) fabric panel. I put them 1/4" to 1/2" in from the edge so I don't sew over them when I sew all round. Then lastly I place my main fabric for panel A with the right side facing in. Then I start sewing 1/4 of the way towards the end of the longest edge of the panel without the straps. I do a few backwards and forwards stitches as I am going to pull this seam when I turn the whole thing inside out. I go round the entire shape taking my time with the bulky straps until I am 1/4 way in from the long edge I started on. This should give me 1/2 of the length in which to turn the whole thing inside out. Again I do backwards stitching at the end to make the seam strong.
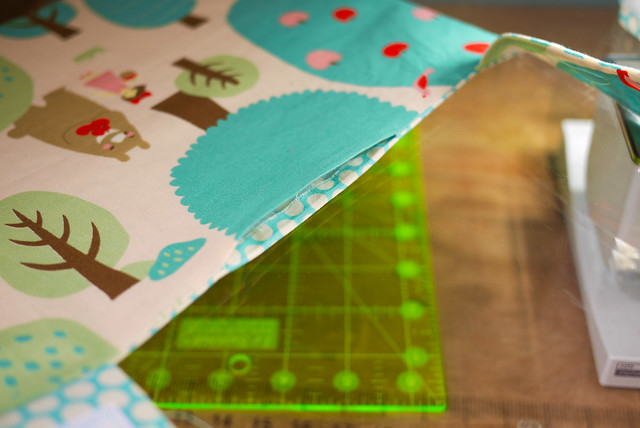 Here's the gap I have left. I turn everything the right way round and press it all flat. I take care to press the seam here so I can then run the sewing machine along the whole line near the edge.
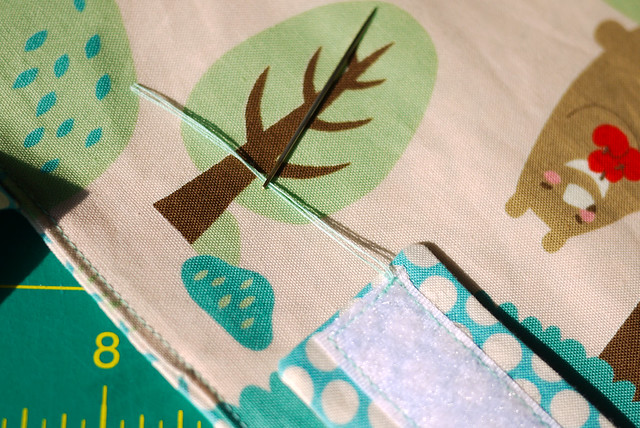
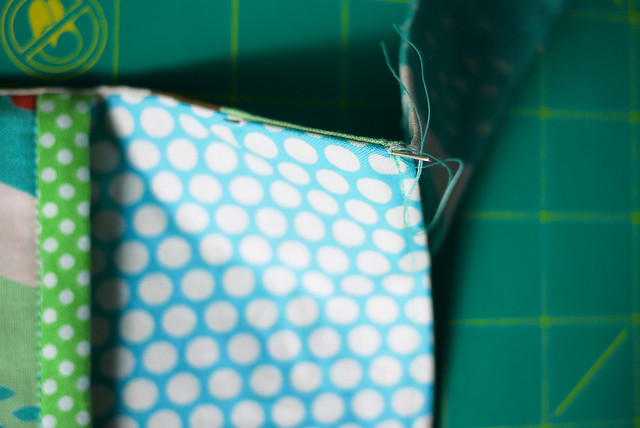 Then to finish off I bring all my threads to one side and knot them. Then with a big needle, I thread the ends back into the fabric and cut them off.
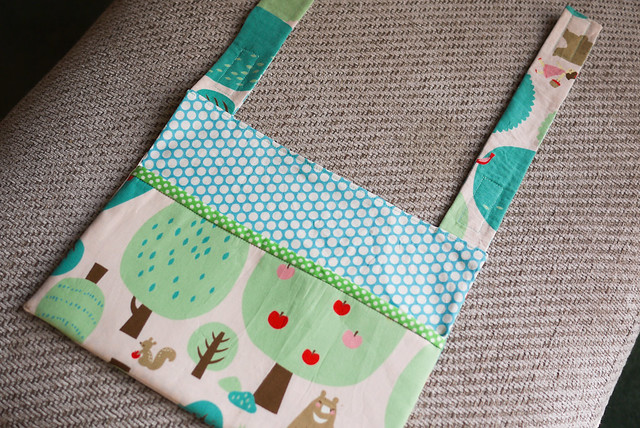 Done!
Done!

